Calibration in the United Kingdom
The technical development made in leaps and bounds by Coriolis measuring devices has become extremely evident over the past years. Straight tube Coriolis devices open up new dimensions in precision measurement technology.
Measuring the mass flow using the Coriolis effect eliminates a whole series of influencing variables present with other calibration methods. During the calibration of Coriolis measuring devices, the indicator of the meter under test is directly compared to the water mass that flowed into the weighing container. All devices are calibrated at different process temperatures. For example, the straight tube devices are calibrated at 20°C, 40°C and 60°C so that through this process the process influences for each device can be individually measured and corrected. As the density measurement is also calibrated during calibration, the customer can choose to calibrate to mass or volume measurement. The entire calibration process is computer controlled and therefore completely automated. Upon completion of the process a separate calibration certificate is issued for each measuring device.nzufügen
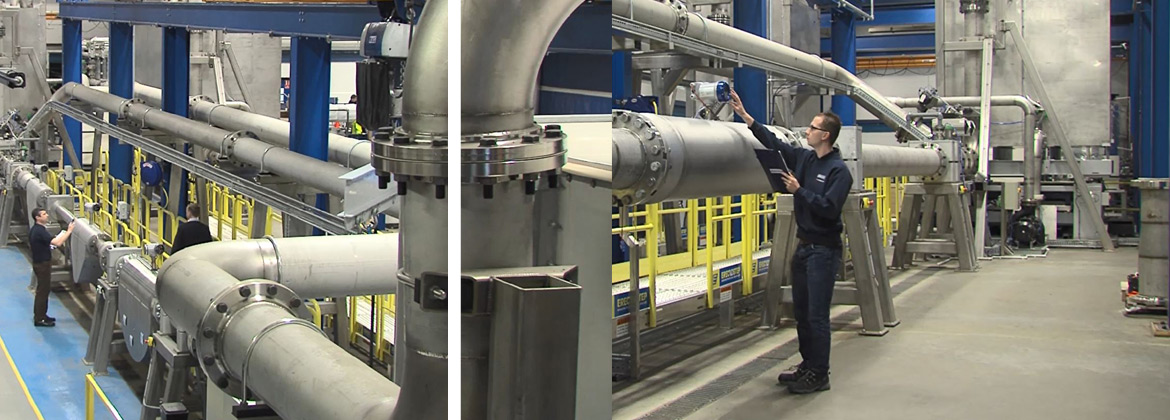
When mass flowmeters with nominal sizes up to DN 250 were added to the product range, existing calibration facilities had to be expanded. The “mega rig” put into operation in 2008 can handle mass flows up to 860t/h with minimal measuring uncertainty. In order to maintain the consistently high standard of accuracy of calibration, the calibration rigs DN 15 to DN 250 are accredited by the United Kingdom Accreditation Service (UKAS1 , laboratory reference number 0812). A separate calibration rig is available for the calibration of mass flowmeters with small nominal sizes starting at DN 1. Here, too, with the so-called “stationary start-stop” measuring principle, the mass of water that flows through the meter under test is directly compared to the indicator on the scales. To reduce calibration times, up to three devices can be simultaneously calibrated. A sophisticated signal processing system prevents the devices from interfering with one another. Calibrations are possible at water temperatures of 20°C, 40°C and 60°C.
Influences in practical use
When you consider the calibration values of a flowmeter, ideally they should not deviate from the measuring values in the application.
References and measurement standards
Calibration usually takes place with the help of a “more accurate” measuring device. This device is referred to as the reference, the measurement standard or superior measurement standard.
Definitions
Any error of measurement detected during calibration as a result of repeat measurements is the so-called systematic measurement error.

