Calibration in India
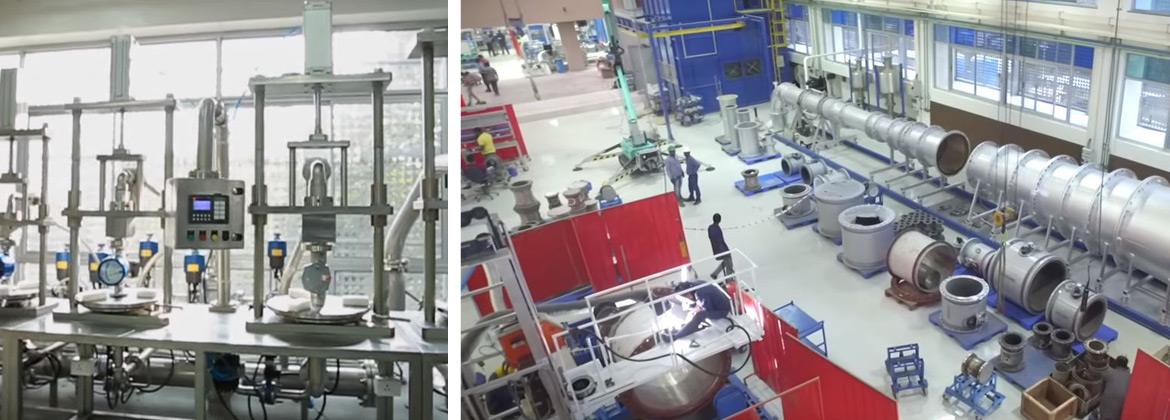
In Pune, India, electromagnetic flowmeters and variable area flowmeters are calibrated.
The calibration of electromagnetic flowmeters is done using a volumetric reference. When calibrating variable area flowmeters, reference devices of superior accuracy are incorporated.
KROHNE MARSHALL was established in 1984 with its corporate office and manufacturing set up at Pune, India. The company has more than 25 sales and service offices throughout South Asia for serving customers in this region for the entire range of products and solutions.
KROHNE MARSHALL has the largest and most accurate water flow calibration facility in this part of the world. This facility is accredited to ISO International Standards, by The National Accreditation Board for Testing and Calibration Laboratories (NABL), India. The company has 5 calibration setups for calibrating various flow meters on water and air from size 10 mm to 2000 mm.
The development calibration rig put into operation in 2009 is available for measurements of air-volume flows up to 2500 m³/h. Calibration is performed using two turbines that are regularly traced back to the measurement standard of a national body to ensure measuring accuracy. Figure 3.2 shows the measuring section and references of the large air calibration rig.
The production of the OPTISWIRL vortex flowmeter series represents the second large product line at the Duisburg site. For the calibration of the vortex flowmeters alone, two revolver calibration rigs were built. Through the rotation of the revolver, the measuring sections necessary to calibrate different nominal sizes can be rotated to the level of the measuring section without long conversion times. Calibration takes place with water at flow rates up to 575 m³/h using electromagnetic flowmeters. Long inlet runs in front of the meter under test and specially fabricated inlet runs for the references guarantee precise measuring conditions with long-term stability. The flow points are started and measurement data is recorded automatically. The measurement data are stored in a database. Figure 3.3 depicts the large revolver calibration rig used to calibrate vortex flowmeters.
Flowmeters in the lower flow range can be calibrated with the help of the small air calibration rig up to 500 m³/h under normal conditions and 8 barg at temperatures up to 90 °C. Critical nozzles are used as reference. They are regularly traced back to national and international standards. In addition to being able to calibrate the flowmeters in a vertical or horizontal position, meters of varying physical measuring principles can be calibrated.
Influences in practical use
When you consider the calibration values of a flowmeter, ideally they should not deviate from the measuring values in the application.
References and measurement standards
Calibration usually takes place with the help of a “more accurate” measuring device. This device is referred to as the reference, the measurement standard or superior measurement standard.
Definitions
Any error of measurement detected during calibration as a result of repeat measurements is the so-called systematic measurement error.

