Calibration in Germany
Variable area flowmeters are one of the things manufactured at the KROHNE site in Duisburg, Germany. This is a tradition which started in 1921 and has stood its ground to date with a wide range of devices. Whether the DK devices are made of glass or metal, H250 or VA 40, the variety of different devices is reflected among other things in the requirements placed on the calibration rigs.
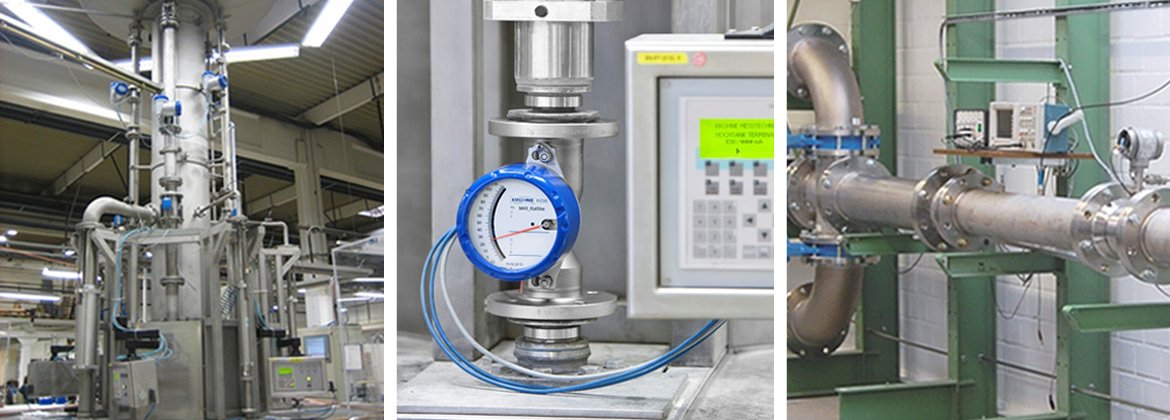
The calibration of the scales of variable area flowmeters is done by comparison with a highly accurate flowmeter. Instruments used include. Coriolis flowmeters, electromagnetic flowmeters and even reference glasses. Fig 3.1 illustrates calibration using electromagnetic flowmeters at the elevated tank calibration facility.
The 9m high elevated tank is operated with water and is used to calibrate H250 devices. Flow rates up to 120m3/h are possible. Fully automatic calibration can take place simultaneously at five measuring stations. A camera system accurately measures the indicator position with a resolution of ±0.1% of the calibration scale. The respective flow points at which calibration takes place are automatically started and the results for each device are stored in the database. The installation site can also be varied so that devices normally receiving the flow from below as well as the devices like the KROHNE variants that receive flow from above or horizontally can be calibrated.
In the glass segment or with DK metal devices, the devices to be calibrated are compared to high resolution variable area flowmeters.
The development calibration rig put into operation in 2009 is available for measurements of air-volume flows up to 2500 m3/h. Calibration is performed using two turbines that are regularly traced back to the measurement standard of a national body to ensure measuring accuracy. Figure 3.2 shows the measuring section and references of the large air calibration rig.
The production of the OPTISWIRL vortex flowmeter series represents the second large product line at the Duisburg site. For the calibration of the vortex flowmeters alone, two revolver calibration rigs were built. Through the rotation of the revolver, the measuring sections necessary to calibrate different nominal sizes can be rotated to the level of the measuring section without long conversion times. Calibration takes place with water at flow rates up to 575 m3 /h using electromagnetic flowmeters. Long inlet runs in front of the meter under test and specially fabricated inlet runs for the references guarantee precise measuring conditions with long-term stability. The flow points are started and measurement data is recorded automatically. The measurement data are stored in a database. Figure 3.3 depicts the large revolver calibration rig used to calibrate vortex flowmeters.
Flowmeters in the lower flow range can be calibrated with the help of the small air calibration rig up to 500 m³/h under normal conditions and 8 barg at temperatures up to 90 °C. Critical nozzles are used as reference. They are regularly traced back to national and international standards. In addition to being able to calibrate the flowmeters in a vertical or horizontal position, meters of varying physical measuring principles can be calibrated.
Influences in practical use
When you consider the calibration values of a flowmeter, ideally they should not deviate from the measuring values in the application.
References and measurement standards
Calibration usually takes place with the help of a “more accurate” measuring device. This device is referred to as the reference, the measurement standard or superior measurement standard.
Definitions
Any error of measurement detected during calibration as a result of repeat measurements is the so-called systematic measurement error.

